



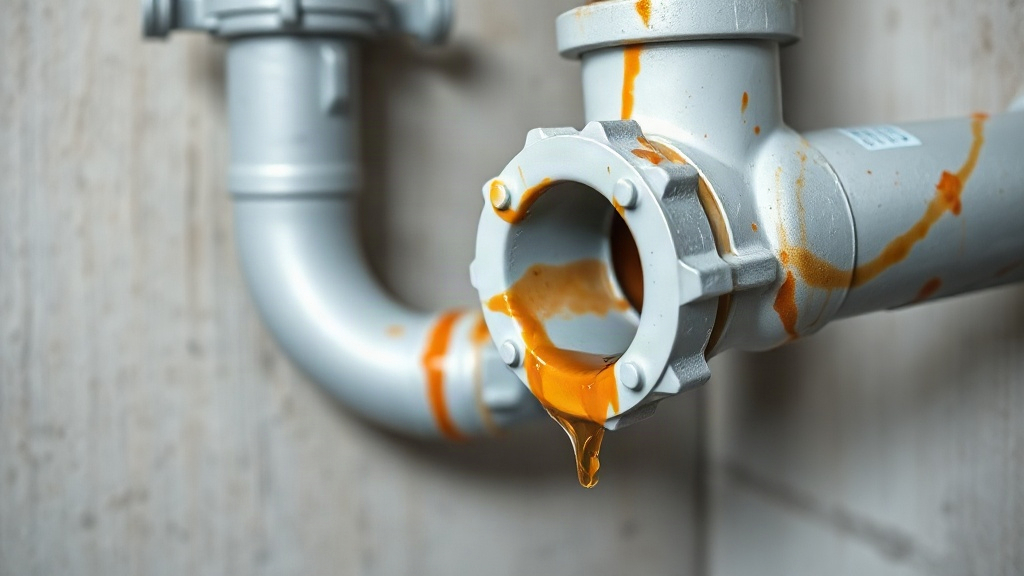
Pipe Joint Leak: Causes, Fixes, and Prevention Tips
A pipe joint leak rarely announces itself with a dramatic burst. More often it starts as a faint drip under a sink, a musty smell in a cabinet, or a water bill that creeps up by a few dollars. If you have spotted moisture where two pipes meet, you already know the real question: how serious is this, and can I fix it myself?
Quick answer: Shut off the water supply and dry the joint completely before you inspect it. Most pipe joint leak problems trace back to a worn seal, loose fitting, or damaged thread, and tightening or resealing the connection fixes many of them. Joints that are cracked, corroded, or hidden behind a wall need a plumber.
This guide explains what causes joint leaks, why they matter, how to fix and prevent them, and which mistakes turn a small drip into costly water damage.
What is pipe joint leak?
A pipe joint leak is water escaping at the point where two pipe sections connect. That connection can be threaded, soldered, compression-fitted, push-fit, or sealed with a gasket or O-ring. The joint is the weakest point in any plumbing line because it relies on a seal rather than solid pipe walls.
Leaks at joints take several forms, and the form tells you a lot about the cause:
- Threaded joints (common on galvanized steel and some fixtures) leak when thread seal tape or compound fails or was applied too thinly.
- Soldered copper joints leak when the solder did not flow fully into the fitting, often from a dirty surface or too little heat.
- Compression fittings leak when the ferrule is crooked, the pipe end is scratched, or the nut is under-tightened.
- Push-fit joints leak when the pipe was not cut square or the O-ring picked up grit during installation.
Where joint leaks show up most
The usual suspects are under sinks, behind toilets, at water heater connections, along supply lines, and inside wall cavities. Outdoor joints on irrigation lines and hose bibs fail too, especially after a freeze. Each location changes the urgency: a drip under a sink gives you time to plan, while a leak inside a wall gives you almost none.
Small leak, big signal
A joint leak is often a symptom, not just a fault. Water dripping from a compression nut may mean the pipe is misaligned and stressing the fitting. Rust streaks on a steel joint point to corrosion from the inside out. Reading the leak as a signal helps you fix the cause instead of just mopping up.
Key takeaway: Identify the joint type and leak pattern first, because the repair method depends entirely on how the pipes connect.
Why pipe joint leak matters
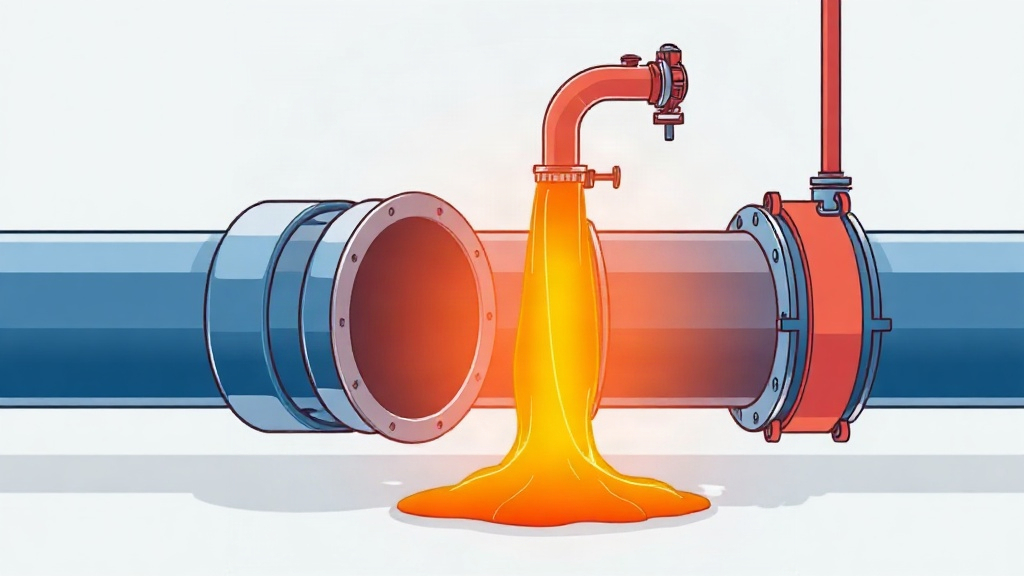
Ignoring a joint leak is a bet against your home, and the odds favor the leak. Water finds paths through drywall, insulation, and framing, and it does its damage quietly. By the time a stain appears on the ceiling, the leak has usually been running for weeks.
The money angle is concrete. A steady drip can waste many gallons a day, and that shows up directly on your water bill. Repair costs climb with the damage: a $10 fitting and some tape are a different world from replacing rotted subfloor, mold remediation, or a soaked ceiling. Home insurers also pay attention to maintenance records, and a leak traced to neglected upkeep can complicate a claim.
Beyond the visible damage, an unnoticed joint leak can push water into spaces you never inspect, such as the cavity behind a shower valve or the cabinet beneath a laundry sink. A simple habit helps: checking under sinks and around the water heater every few months, looking for mineral crust, soft wood, or a faint musty smell that hints at a hidden drip.
Health and safety risks
Standing moisture under a sink or in a cabinet invites mold, which can irritate allergies and asthma. Leaks near electrical outlets or appliance connections add a shock risk. On hot water lines, a joint leak can scald if the spray hits skin at close range.
[!WARNING] Hidden leaks often come from hot water lines, which can send scalding spray behind a cabinet or wall. Shut off the supply before you reach in to inspect anything.
Structural damage adds up
Wood framing absorbs water and softens over time. A leak that drips onto a joist or subfloor for months can weaken the structure around it. Foundation seepage from a buried supply line is rarer but far more expensive to correct.
Early detection keeps the repair small. Catching a joint leak within days instead of months is the difference between tightening a nut and opening a wall.
Key takeaway: Treat every joint leak as urgent until you confirm it is minor, because water damage grows faster than the drip suggests.
Best practices
Good joint work comes down to preparation and restraint. Most failures happen before the water ever turns on, during cutting, cleaning, or tightening.
Set aside a few extra minutes for layout before assembly. Pipes should meet the fitting without force; if you have to pull or pry them into line, add a support or a short section of flex to relieve the strain. Keep flux and solder away from plastic parts, and let a soldered joint cool on its own rather than cooling it with a wet rag, which can crack the seal.
Prepare the pipe correctly
Cut pipe ends square, then deburr the inside and outside edges. A rough or angled cut prevents the seal from seating evenly, which is the leading cause of push-fit and compression leaks. Wipe the pipe dry and clean before assembly. Solder will not bond to oily copper, and thread compound will not seal over grit.
Match the seal to the joint
Use the right materials for the connection type:
| Joint type | Seal method | Common fix |
|---|---|---|
| Threaded | PTFE tape or pipe compound | Re-tape and tighten |
| Soldered copper | Lead-free solder | Reheat, clean, resolder |
| Compression | Brass ferrule | Replace ferrule, retighten |
| Push-fit | O-ring | Recut pipe, reseat |
Comparison: thread tape vs. pipe compound. Tape suits most metal threads and is easy to redo. Compound works well on larger fittings and slightly damaged threads. Never use both together, because the combination can crack plastic fittings.
Tighten with judgment
Snug plus a quarter turn is usually enough for compression nuts. Over-tightening crushes ferrules and splits plastic, creating a new leak where you were trying to stop one. Follow the fitting maker’s torque guidance when it is printed on the package.
Test before you close up
Pressurize the line and watch the joint for a full minute before covering it. Run a dry tissue along the fitting; any dampness means the seal failed. For hidden connections, repeat the check after 24 hours of normal use.
A dry tissue shows even a slow seep that your fingers would miss.
Key takeaway: Square cuts, clean surfaces, the right seal, and a proper test catch nearly every joint problem before it becomes a leak.
Common mistakes to avoid
Most repeat leaks trace back to a handful of habits. Each one is easy to fix once you know it.
Avoid reusing old seals and washers; rubber hardens and takes a permanent set, so a used O-ring or ferrule rarely seats the same way twice. Keep a few spares of each size on hand. It is also tempting to skip deburring after a quick cut, but jagged edges slice seals and start the next leak.
Reaching for the wrench first
The instinct to tighten harder often backfires. Over-torqued compression nuts deform the ferrule, and the joint leaks worse than before. If tightening once did not stop the drip, stop and inspect the seal instead of adding force.
Skipping the dry test
Wrapping a joint in tape or closing a cabinet before testing hides the evidence. A two-minute dry test with the supply on catches problems while access is still easy.
Mixing incompatible parts
Brass and galvanized steel in direct contact corrode faster, and mismatched thread standards cross-thread easily. Buy fittings rated for your pipe material and pressure. Plastic push-fit fittings also have temperature limits; check the rating before using them on hot lines.
Ignoring the cause behind the leak
Replacing a washer on a joint that is misaligned just buys time. Check that pipes are supported and line up without stress. A joint under constant strain will fail again, often within months.
Forgetting the water hammer angle
Loud banging when taps close sends pressure spikes through the system, and joints absorb that shock. Installing a water hammer arrestor or securing loose pipes reduces repeated stress on every fitting in the line.
DIY on gas or main lines
Gas piping and main water service lines need a licensed professional. A joint leak on a gas line is a health emergency, and main-line repairs often require permits and inspections. Know where your competence ends.
Change only one thing per repair attempt. If you re-tape and re-tighten at the same time, a success or failure tells you nothing about which step mattered.
Key takeaway: Avoid brute force, hidden tests, mismatched parts, and ignored causes, and most repeat joint leaks disappear.
FAQ
How much does it cost to fix a pipe joint leak?
A DIY repair on an accessible joint often costs under $20 in tape, a ferrule, or a fitting. A plumber typically charges a service call plus labor, and the total depends on access. Leaks inside walls or under slabs cost more because opening and closing the surface adds work.
Can I fix a pipe joint leak myself?
Yes for exposed, threaded, compression, and push-fit joints on supply or drain lines. Call a professional for gas lines, main service lines, soldered joints you are not comfortable with, or anything behind a wall or slab. When in doubt, stop and get help.
How long can I leave a small joint leak?
Treat it as a days-not-weeks problem. A slow drip can soak wood, feed mold, and waste water daily. If you cannot repair it immediately, shut off the supply to that line or place a container and monitor it closely.
Why does my joint leak only sometimes?
Intermittent leaks usually follow temperature changes, pressure spikes, or vibration. A joint that weeps when hot water runs may have a partially failed seal that expands and contracts. Inspect it under both hot and cold conditions before deciding the fix.
Is Teflon tape enough to stop a joint leak?
Tape helps threaded metal joints seal, but it will not fix a cracked fitting, a bad ferrule, or a damaged thread. Use tape as part of a proper repair, not as a patch over a failing joint.
Conclusion
A pipe joint leak is a small problem with a short window for easy, cheap repair. Identify the joint type, cut and clean the pipe properly, seal it with the right material, and test before you close anything up. Avoid over-tightening and hidden shortcuts, because those are what turn a drip into a demolition job.
Start today: shut off the supply, dry the joint, and give it a careful look. If the fix is within reach, gather the right parts and test your work. If the leak is hidden, gassy, or beyond your comfort level, call a licensed plumber now rather than waiting for the ceiling to tell you.
