




How To Clean Wax Warmer Pot In Spa: A Complete Guide
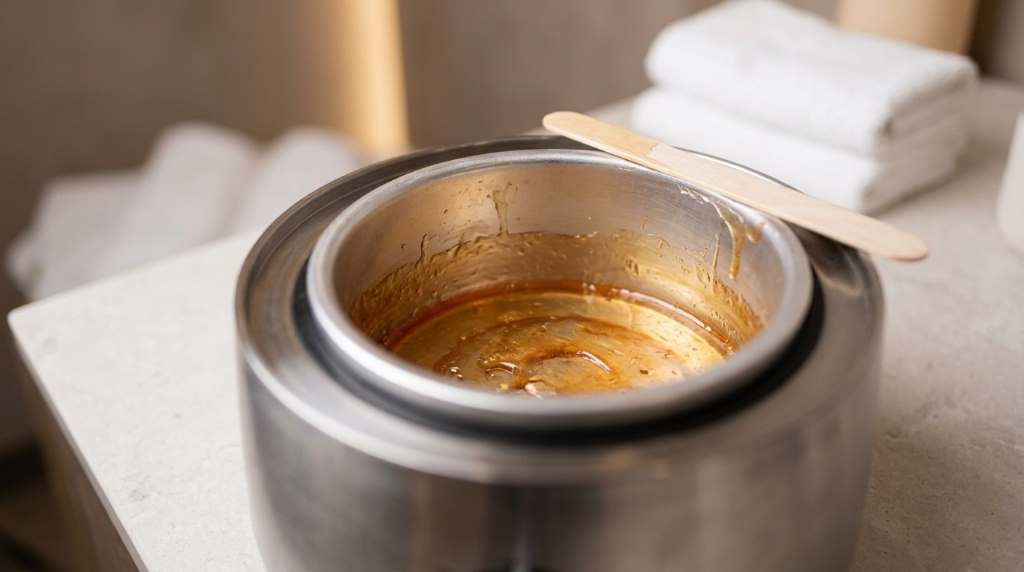
To clean a wax warmer pot in a spa, first warm the remaining wax until it softens. Then remove the wax, wipe the pot, and sanitize every accessible surface before the next service.
Regular cleaning protects clients, keeps wax application consistent, and helps the warmer work properly. However, the cleaning method matters because harsh products can damage the pot or heating components.
This guide explains a practical spa cleaning routine from wax removal through final inspection. It also covers stubborn residue, sanitation, common mistakes, and a simple maintenance schedule. We suggest visiting the laser hair removal in midtown Manhattan.
Key Takeaways
- Warm leftover wax gently before attempting removal.
- Remove bulk wax with a suitable disposable tool.
- Wipe residue before applying any cleaning product.
- Keep liquids away from electrical controls and heating parts.
- Use products that suit the warmer manufacturer’s instructions.
- Sanitize surfaces after removing visible wax residue.
Why Cleaning A Wax Warmer Pot Matters
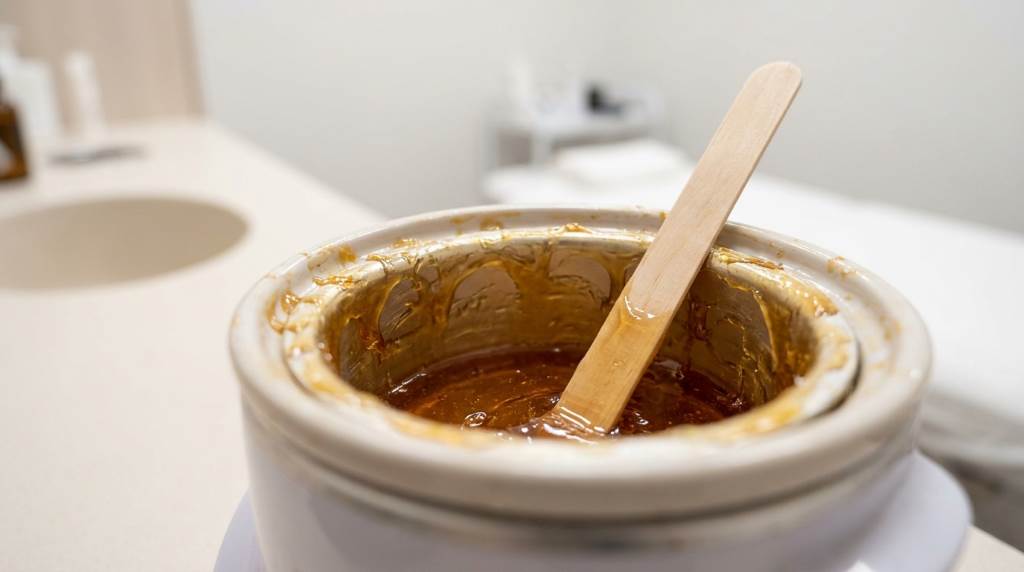
A wax warmer pot directly contacts products used during personal care services. Therefore, residue can affect cleanliness, appearance, temperature control, and daily workflow.
Old wax can also collect dust, hair, fibers, and other debris around the pot. Over time, this buildup can make fresh wax look contaminated or affect its texture.
Moreover, excessive residue can create an uneven heating environment around the pot. A clean container helps the warmer heat wax more predictably during regular services.
Cleaning also creates a more professional workspace. Clients can notice visible residue, dirty tools, and neglected equipment during treatments. Visit the best anti aging facial in midtown Manhattan to get the best care for anti aging.
What You Need Before Cleaning
Prepare your cleaning supplies before heating the warmer. A complete setup reduces interruptions and helps you follow the same process every time.
- Disposable gloves
- Disposable wax removal sticks
- Clean paper towels or lint free cloths
- Suitable surface cleaner or equipment cleaner
- Sanitizing product approved for the equipment surface
- Small disposable waste bag
- Manufacturer approved cleaning materials
Keep everything within reach before you start. Most importantly, check the warmer manufacturer’s cleaning instructions before applying any chemical product.
How To Clean Wax Warmer Pot In Spa
1. Turn Off The Warmer Safely
Start by switching off the warmer according to its operating instructions. Disconnect the power when the manufacturer recommends unplugging the unit for cleaning.
Never begin cleaning around exposed electrical components while the warmer remains powered. Instead, allow the unit to reach a safe handling temperature.
Do not pour water directly into the warmer. Water can reach electrical parts and create avoidable equipment damage or safety risks.
2. Soften Remaining Wax
If hardened wax remains inside the pot, use gentle heat to soften it. Keep the temperature controlled rather than overheating the remaining material.
Soft wax usually releases more easily than cold, brittle wax. Consequently, you can remove more residue without aggressively scraping the pot.
Never leave a heating warmer unattended during this step. Follow the equipment instructions for safe operating temperatures and handling.
3. Remove The Bulk Wax
Use a disposable wax stick to collect softened wax from the pot. Work slowly around the edges before moving toward the center.
Place removed wax directly into a suitable waste container. Avoid pouring wax into sinks because it can cool inside plumbing and cause blockages.
For thicker buildup, repeat the softening process rather than forcing the residue away. Gentle removal protects the pot surface from unnecessary scratches.
4. Wipe Away Remaining Residue
After removing the bulk wax, switch off the warmer and follow its cooling instructions. Then wipe the remaining residue with a suitable disposable cloth.
Pay close attention to corners, edges, and areas around the inner rim. These locations often retain thin wax films after the main removal.
Change the cloth when it becomes saturated with wax. A clean section removes residue more effectively than repeatedly spreading wax across the surface.
5. Apply An Appropriate Cleaner
Choose a cleaner that the manufacturer permits for the warmer’s pot material. Some surfaces can react poorly to aggressive solvents or abrasive products.
Apply the cleaner to the cloth when appropriate rather than flooding the pot. This approach gives you better control around sensitive equipment.
Wipe the interior thoroughly while avoiding electrical controls and heating components. Never assume that a general household cleaner suits professional spa equipment.
6. Remove Cleaner Residue
After cleaning, follow the product instructions for removing any remaining chemical residue. Use the correct wiping method for the equipment surface.
Do not leave cleaner inside the pot unless the product specifically permits that process. Residual chemicals can interfere with later wax applications.
Inspect the pot under good lighting after wiping. A clean surface should show no obvious wax film, debris, or cleaner residue.
7. Sanitize The Appropriate Surfaces
Sanitize surfaces according to your spa’s established infection control procedures. Use a product approved for the specific surface and follow its contact time.
Remember that visible cleaning and sanitizing serve different purposes. Cleaning removes soil and residue, while sanitizing reduces microorganisms on suitable surfaces.
Never mix cleaning chemicals or sanitizers together. Chemical combinations can create dangerous reactions or damage equipment surfaces.
8. Dry And Inspect The Warmer
Allow cleaned surfaces to dry according to the product instructions. Then inspect the pot, lid, controls, cord, and surrounding areas.
Look for cracks, damaged coatings, loose components, or unusual residue. Stop using damaged equipment until a qualified person evaluates it.
Once everything looks clean and dry, return the warmer to normal operating condition. Keep the workspace organized before beginning the next service.
How To Remove Stubborn Wax From The Pot
Stubborn wax usually develops when residue remains after several cleaning cycles. Fortunately, controlled heat can soften the buildup without aggressive scraping.
Warm the residue according to the equipment instructions, then remove it with a disposable tool. Repeat small sections instead of attacking the entire buildup at once.
If residue remains after mechanical removal, use a manufacturer approved cleaning product. Always test cleaning procedures according to the equipment manufacturer’s recommendations.
Avoid knives, metal blades, abrasive pads, and other sharp tools. These items can scratch the pot and create surfaces that become harder to clean.
How To Clean Around The Wax Warmer
The pot deserves attention, but the surrounding equipment also needs routine care. Wax can drip onto handles, controls, counters, and nearby surfaces.
First, remove visible wax without spreading it across the workspace. Next, clean the surrounding surface with an appropriate product.
Keep electrical openings dry throughout the process. If wax reaches internal electrical areas, stop cleaning and follow the manufacturer’s service instructions.
Also clean reusable tools according to your spa’s established sanitation procedures. Disposable applicators should never return to the wax pot after contacting skin.
What Not To Do When Cleaning A Wax Warmer
Several cleaning habits can damage equipment or create unnecessary hygiene problems. Avoid shortcuts that make the cleaning process faster but less controlled.
- Do not pour water into the warmer.
- Do not scrape the pot with sharp metal tools.
- Do not mix cleaning chemicals.
- Do not overheat wax to speed up removal.
- Do not ignore manufacturer cleaning instructions.
- Do not reuse contaminated disposable applicators.
- Do not operate visibly damaged equipment.
Additionally, never assume that a clean looking surface requires no sanitation. Follow your spa’s written procedures for equipment hygiene and client safety.
How Often Should A Spa Clean A Wax Warmer?
Clean the pot after each service when your procedure requires complete wax removal. Regular cleaning prevents residue from becoming harder to remove later.
Perform a deeper cleaning whenever visible buildup develops around the pot or surrounding equipment. Increase cleaning attention when multiple services create frequent residue.
Your spa should also maintain a written equipment cleaning schedule. That schedule creates consistent expectations across different staff members and shifts.
| Cleaning Task | Recommended Timing | Main Purpose |
| Remove visible wax | After services | Prevent residue buildup |
| Wipe the pot | After wax removal | Remove remaining film |
| Clean surrounding surfaces | Regularly | Maintain workspace hygiene |
| Inspect equipment | During routine cleaning | Identify damage early |
| Deep clean | According to spa procedures | Control persistent buildup |
How Clean Wax Improves Daily Spa Work
A clean pot gives staff a better starting point for every waxing service. It also reduces the amount of old residue that can interfere with fresh product.
Furthermore, consistent cleaning makes equipment checks easier. Staff can identify unusual discoloration, damaged surfaces, or mechanical problems before they become larger issues.
Clean equipment also supports a professional client experience. When clients see organized and properly maintained equipment, the service environment feels more controlled.
How To Build A Simple Cleaning Routine
The easiest routine combines cleaning with the end of each service. Staff should remove visible wax before it hardens completely whenever equipment instructions allow.
Next, wipe the pot and surrounding surfaces using approved cleaning materials. Then complete the required sanitation process and allow surfaces to dry.
Finally, inspect the warmer before storing or using it again. This sequence creates a repeatable process that staff can follow without guesswork.
A written checklist can make this routine even more reliable. Keep the checklist near the workstation and update it whenever equipment procedures change.
Signs Your Wax Warmer Needs Extra Attention
Some signs indicate that routine cleaning no longer provides enough control. Watch for changes that affect cleanliness, heating, or the physical condition of the equipment.
- Heavy wax buildup remains after normal cleaning.
- The pot develops persistent discoloration.
- Wax heats unevenly despite normal operation.
- Residue collects around controls or exterior surfaces.
- The pot develops scratches, cracks, or damaged coatings.
- Unusual odors appear during normal operation.
These signs do not always indicate a cleaning problem. Therefore, follow the manufacturer’s troubleshooting and service guidance when equipment performance changes.
Practical Tips For Better Wax Warmer Hygiene
Consistency matters more than complicated cleaning routines. Use the same approved process after every applicable service.
- Keep disposable removal tools beside the warmer.
- Use fresh cloths when cleaning wax residue.
- Label cleaning products clearly.
- Store chemicals away from wax and client supplies.
- Train every staff member on the same cleaning process.
- Record equipment problems when staff discover them.
Also avoid allowing residue to accumulate simply because the warmer still works. Preventive cleaning usually requires less effort than removing heavy buildup later.
Frequently Asked Questions
Can I clean a wax warmer pot while it is hot?
Only handle the pot at temperatures and stages that the manufacturer specifically permits for cleaning.
Can I pour leftover wax down the sink?
No, hardened wax can accumulate inside plumbing and cause difficult blockages.
Can I use rubbing alcohol on a wax warmer pot?
Use rubbing alcohol only when the manufacturer approves it for your specific pot material and equipment.
How do I remove hard wax stuck inside the pot?
Gently soften the wax using approved heat, then remove it gradually with a disposable tool.
Should I sanitize the wax warmer after cleaning?
Yes, follow your spa’s sanitation procedure and use a suitable product with the required contact time.
Conclusion
Cleaning a wax warmer pot in a spa requires controlled heat, careful wax removal, suitable cleaning products, and proper sanitation. The safest approach starts with the manufacturer’s instructions because pot materials and equipment designs differ.
Make cleaning part of every applicable service routine instead of waiting for heavy buildup. Start with gentle wax removal, clean the surrounding equipment, inspect the warmer, and complete your required sanitation process.
Use this routine consistently and train every staff member to follow the same steps. A cleaner warmer supports better equipment care, a more organized workspace, and a professional client experience. Finally, we recommended the best facials in midtown Manhattan and the best manicure in midtown Manhattan to know more details.
