


Plan to Install Tiny Home Shed: A Step-by-Step Guide
Are you dreaming of a cozy, functional space in your backyard? A plan to install a tiny home shed can turn that dream into reality. These compact structures offer versatile solutions for extra living space, a home office, or a creative retreat. However, careful planning is key to ensuring a smooth installation process. From choosing the right shed to navigating local regulations, a well-thought-out plan to install a tiny home shed saves time and money. This guide will walk you through each step, offering practical tips and insights to help you succeed. Let’s dive into how you can create your perfect tiny home shed in 2025.
Why Choose a Tiny Home Shed?
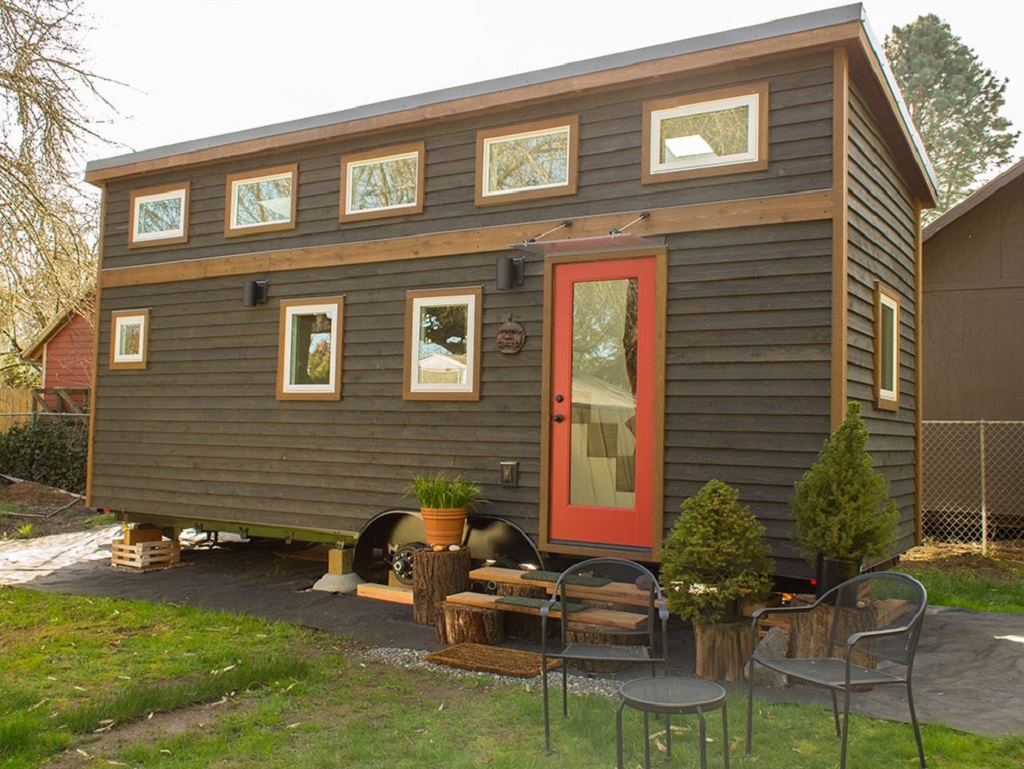
Tiny home sheds are gaining popularity for their affordability and versatility. They provide a cost-effective way to add functional space without the expense of a full home addition. According to a 2023 report by the National Association of Home Builders, accessory dwelling units like sheds can increase property value by up to 25%. Additionally, they’re eco-friendly, often requiring fewer resources than traditional homes.
For example, I transformed a 10×12 shed into a home office last year. The process was rewarding but required careful planning to meet local codes. Therefore, understanding your needs—whether for storage, work, or living—is crucial. A solid plan to install a tiny home shed ensures the space aligns with your lifestyle and budget. Consider factors like size, insulation, and utilities early to avoid costly changes later.
Step 1: Define Your Purpose and Budget
Before starting, clarify why you need a tiny home shed. Is it for storage, a guest room, or a creative studio? Defining the purpose shapes your design and material choices. Next, set a realistic budget. According to HomeAdvisor, basic shed installations range from $1,500 to $10,000, depending on size and features. Custom sheds with plumbing or electricity can cost more.
Start by listing your must-haves, like insulation or windows. Then, research shed kits or custom builders to compare prices. For instance, my shed project stayed under $5,000 by choosing a prebuilt kit and DIY installation. However, factor in permits, foundation costs, and labor if you’re not DIY-savvy. A clear plan to install a tiny home shed keeps expenses in check and prevents overspending.
Step 2: Research Local Regulations and Permits
Local zoning laws and permits are critical when you plan to install a tiny home shed. Most municipalities have rules on shed size, placement, and use. For example, sheds over 120 square feet often require permits, per the International Code Council. Ignoring regulations can lead to fines or removal. Therefore, contact your local zoning office early.
Check restrictions on setbacks, height, and utilities. In my case, I needed a permit for electricity but not for the shed itself, saving time. Additionally, some areas limit sheds to non-residential use. Researching upfront ensures compliance and avoids delays. Visit your city’s website or call officials to confirm requirements before proceeding with your plan to install a tiny home shed.
Step 3: Choose the Right Location
Selecting the perfect spot for your tiny home shed impacts its functionality and longevity. Look for a level area with good drainage to prevent water damage. Avoid low-lying spots prone to flooding. Also, consider accessibility and proximity to utilities if you need power or water. Sunlight exposure matters too, especially for workspaces or living areas.
For example, I placed my shed near a power source to simplify wiring. However, I ensured it was 10 feet from property lines to meet local codes. Use stakes and string to mark the site and visualize the layout. A well-chosen location enhances your plan to install a tiny home shed, ensuring durability and convenience for years to come.
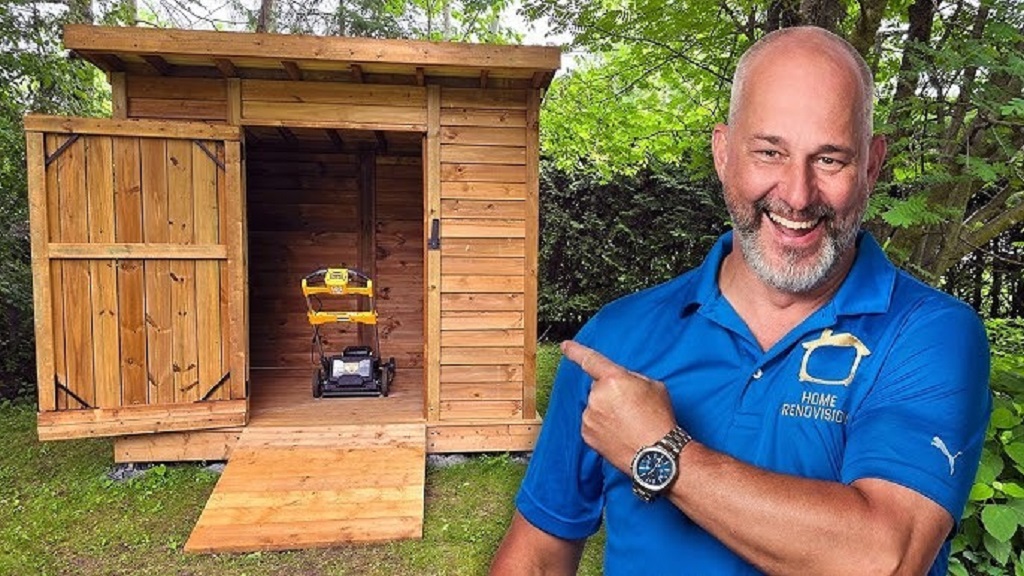
Step 4: Select the Shed Type and Materials
Tiny home sheds come in various types: prebuilt kits, custom-built, or DIY. Prebuilt kits are affordable and quick, while custom sheds offer tailored designs. Materials like wood, metal, or vinyl affect durability and cost. Wooden sheds are customizable but need maintenance, whereas metal sheds resist weather better.
I opted for a wooden shed kit for its aesthetic appeal and ease of assembly. According to a 2024 study by Sheds Direct, wooden sheds last 15–20 years with proper care. Consider insulation, flooring, and roofing options based on your climate. For instance, metal roofs handle heavy rain well. Choose materials that align with your budget and purpose to streamline your plan to install a tiny home shed.
Step 5: Prepare the Foundation
A sturdy foundation is essential for stability. Options include concrete slabs, gravel pads, or wooden skids. Concrete is durable but expensive, while gravel is budget-friendly and promotes drainage. The choice depends on your shed’s size and purpose. For example, a concrete slab suits permanent structures, per Bob Vila’s 2023 guide.
I used a gravel pad for my shed, which cost $500 and took a weekend to prepare. First, clear the site of debris and level the ground. Then, lay a weed barrier and add gravel or pour concrete. A solid foundation prevents shifting and extends your shed’s lifespan, making it a key part of your plan to install a tiny home shed.
Step 6: Install and Customize Your Shed
Once the foundation is ready, it’s time to install the shed. For prebuilt kits, follow the manufacturer’s instructions carefully. If hiring professionals, ensure they’re licensed. Customization, like adding windows or insulation, enhances functionality. For instance, I added skylights to brighten my workspace, which cost $200 but made a huge difference.
Schedule utility installations, like electricity or plumbing, after the shed is up. Work with certified contractors to meet safety standards. Additionally, paint or seal the exterior to protect against weather. Completing these steps ensures your tiny home shed is both practical and appealing, finalizing your plan to install a tiny home shed successfully.
Step 7: Maintain Your Tiny Home Shed
Regular maintenance keeps your shed in top shape. Inspect the roof, walls, and foundation yearly for damage. For wooden sheds, apply sealant every 2–3 years to prevent rot. Metal sheds need rust checks. Also, clean gutters and ensure proper drainage to avoid water issues.
In my experience, resealing my shed’s wood every two years kept it looking new. According to This Old House, regular maintenance extends shed life by 5–10 years. Therefore, budget for upkeep costs, like paint or repairs, to protect your investment. A maintenance routine ensures your tiny home shed remains functional and attractive long-term.
Read More Also: Best Home Cleaning Service in Your Area
Conclusion
Creating a plan to install a tiny home shed is an exciting journey that adds value and versatility to your property. By defining your purpose, researching regulations, and choosing the right materials, you set the stage for success. A well-executed plan saves time, money, and stress, delivering a space tailored to your needs. Whether it’s a cozy retreat or a functional office, your tiny home shed can transform your lifestyle. Start planning today, and share your journey in the comments below or on social media. Let’s inspire others to create their perfect tiny home shed!
Read More Also: Learn How To Remove Paint From Concrete
FAQs
What is the average cost to install a tiny home shed?
The cost ranges from $1,500 to $10,000, depending on size, materials, and utilities. Custom features like plumbing increase expenses.
Do I need a permit for a tiny home shed?
Permits are often required for sheds over 120 square feet or with utilities. Check local zoning laws for specifics.
How long does it take to install a tiny home shed?
Installation takes 1–3 days for prebuilt kits. Custom builds or foundations may extend the timeline to a week.
Can I live in a tiny home shed full-time?
Some areas allow it, but zoning laws often restrict sheds to non-residential use. Verify with local authorities.
What’s the best foundation for a tiny home shed?
Gravel pads are affordable and drain well, while concrete slabs offer durability for permanent structures.
Ready to plan your tiny home shed? Share your ideas or questions in the comments, or spread the word by sharing this guide!