


When Erecting a Gable Roof, Which Portion of the Rafter is Nailed to the Ridgeboard?
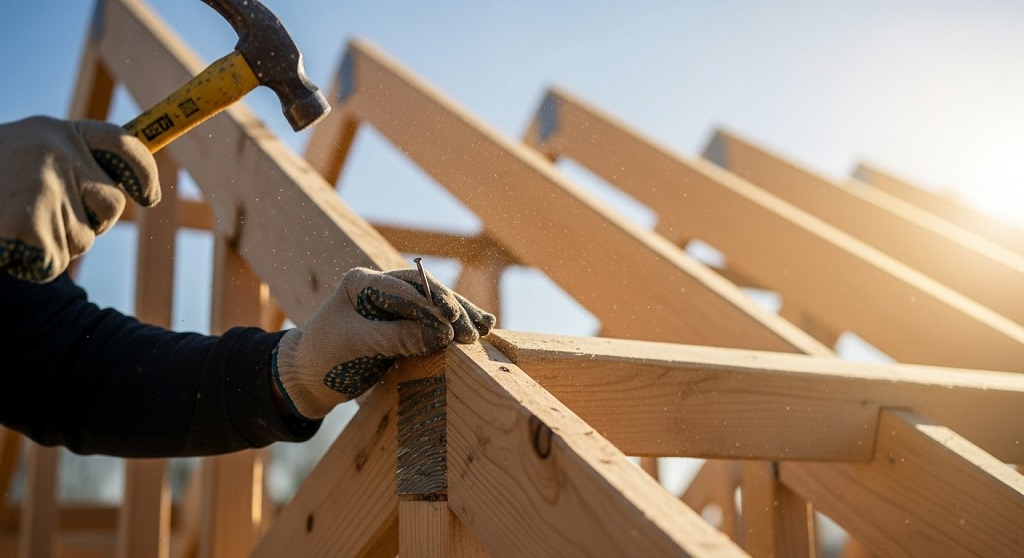
Imagine standing on your ladder, the sun warming your back, as you lift the first rafter into place. Suddenly, everything clicks. The roof starts to take shape. That magical moment happens only when you connect the right part of the rafter to the ridgeboard correctly.
In simple terms, a gable roof features two sloping sides that meet at the top ridge. Rafters form the sloping framework, while the ridgeboard (or ridge beam) runs horizontally along the peak. Builders nail the rafters to this central board to create a strong, stable structure.
According to the U.S. Census Bureau’s latest Construction Report, over 65% of new single-family homes built in 2024 used gable roof designs because of their simplicity and excellent water runoff. Moreover, the International Residential Code (IRC) emphasizes proper rafter-to-ridge connections as a critical factor in preventing roof collapse under snow or wind loads.
So, to answer the burning question directly: when erecting a gable roof, the upper end (or top/plumb cut end) of the rafter is nailed to the ridgeboard. This connection forms the heart of the entire roof frame.
Now let’s dive deep into why this matters and how to do it perfectly every time.
Understanding Gable Roof Anatomy

A gable roof looks like an inverted V from the side. Two rafters lean toward each other and meet at the peak. However, they do not connect directly to each other in most modern designs. Instead, they both attach to a horizontal ridgeboard.
The ridgeboard itself does not carry significant structural load in many cases. Instead, it mainly serves as a nailing surface and keeps rafters aligned. In some heavier designs, engineers replace it with a structural ridge beam that supports weight.
Common terms you will hear on site include:
- Common rafters – the main sloping members
- Ridgeboard – the horizontal board at the peak
- Bird’s mouth – the notch that sits on the wall plate
- Plumb cut – the vertical cut at the top end of the rafter
Understanding these parts helps everyone speak the same language during framing.
The Exact Portion of the Rafter That Connects to the Ridgeboard
Builders always nail the upper end of the rafter to the ridgeboard. Specifically, they attach the plumb cut face—the vertical end created by the top cut of the rafter.
This plumb cut sits flat against the side of the ridgeboard. Carpenters drive nails through the rafter into the edge of the ridgeboard, usually at an angle (toenailing) or straight, depending on local code and preference.
In short:
- Bottom end → bird’s mouth sits on top plate
- Middle → spans the distance
- Top end → plumb cut nails to ridgeboard
This arrangement creates opposing rafters that push against each other and transfer loads downward through the walls.
Step-by-Step Process of Nailing Rafters to the Ridgeboard
Professional framers follow a proven sequence. Here’s how they do it safely and accurately:
- Install the ridgeboard first, supported temporarily by vertical posts every 8–12 feet.
- Mark rafter layout on the ridgeboard and both wall plates simultaneously for perfect alignment.
- Cut the first pair of rafters using a reliable pattern rafter.
- Lift one rafter, place the bird’s mouth on the wall plate, and swing the top end against the ridgeboard.
- Temporarily tack-nail the plumb cut face to the ridgeboard.
- Repeat with the opposing rafter on the other side.
- Check that both rafters sit perfectly plumb and the ridge remains level.
- Drive permanent nails—usually three 16d common nails or structural screws per side.
- Install collar ties or ridge straps as required by code.
- Remove temporary supports once several pairs lock everything together.
Following these steps prevents twisted or uneven roofs that leak later.
Types of Fasteners and Nailing Patterns
Modern building codes offer several approved options:
- Traditional toenailing: Three 8d or 10d common nails driven at angles through the rafter into the ridgeboard.
- End-nailing: When the ridgeboard is wide enough, crews drive nails straight through the face.
- Metal hurricane ties or rafter clips: These provide far superior uplift resistance in high-wind zones.
- Structural screws: Many builders now prefer 3-inch structural screws because they deliver greater holding power and easier installation.
The 2024 IRC Table R802.5.1(9) specifies minimum fastener schedules based on snow load and roof span. Always check your local amendments.
Common Mistakes and How to Avoid Them
Even experienced carpenters sometimes slip up. Watch out for these frequent errors:
- Nailing the wrong end of the rafter (yes, it happens on long days!).
- Forgetting to crown all rafters the same direction—leads to wavy roofs.
- Using undersized or insufficient nails—reduces wind resistance dramatically.
- Installing the ridgeboard too low or too high—makes bird’s mouth cuts impossible.
- Skipping temporary bracing—entire roof can collapse before completion.
Double-check every connection. A quick level and string line saves hours of rework.
Ridgeboard vs. Structural Ridge Beam: Key Differences
Many people confuse the two. Here’s a clear comparison:
| Feature | Traditional Ridgeboard | Structural Ridge Beam |
|---|---|---|
| Load-bearing | No | Yes |
| Typical depth | 1.5–2 inches (2× board) | 3.5–14 inches or engineered |
| Rafter connection | Nailed on sides | Rafters sit on top or hang |
| Required ceiling joists | Yes (provide triangulation) | Often no |
| Allows cathedral ceiling | Difficult | Easy |
Choose the right system early in design to avoid expensive changes later.
Tools That Make the Job Faster and More Accurate
Today’s framers rely on modern tools:
- Cordless framing nailers (palm nailers work great for tight ridge work)
- Construction-grade laser levels
- Rafter squares and speed squares
- Prefabricated rafter jigs
- Drone or laser measurements for long spans
These tools reduce physical strain and improve precision dramatically.
Safety Considerations at the Ridge
Working at height demands respect. Professional crews always:
- Use proper fall protection above 6 feet
- Install scaffold planks or roof brackets
- Secure ladders with three points of contact
- Never walk backward near the ridge
- Keep the work area clear of tools that can slide off
According to OSHA, falls remain the leading cause of death in residential construction. One moment of distraction can change everything.
Real-World Example: A Recent Successful Build
Last year, a framing crew in Colorado completed a 2,800 sq ft home with 12/12 pitch gable roofs. They used 2×12 rafters on 16-inch centers with a glued-laminated structural ridge beam. Every rafter top end received Simpson Strong-Tie H2.5A hurricane ties screwed into the beam. The local inspector called it “one of the cleanest ridge connections I’ve seen in 20 years.” The roof easily handled 60 psf snow loads all winter without movement.
Advanced Techniques for Complex Gable Roofs
Some projects demand extra skill:
- Hip and valley intersections require precise compound cuts.
- Dormers change the ridge height and need careful layout.
- Truss-rafter hybrids combine factory trusses with site-built gable ends.
- Exposed decorative ridge beams showcase beautiful timber framing.
Master carpenters plan these details weeks in advance on paper or 3D software.
Related Topics: How Long Does a Shingle Roof Last?
Conclusion
When erecting a gable roof, always remember: the upper end with the plumb cut of each rafter gets nailed—or mechanically fastened—to the ridgeboard or ridge beam. This simple connection holds the entire roof together and determines its long-term performance.
Take time to lay out accurately, choose strong fasteners, and follow safety protocols. Your finished roof will shed water perfectly, resist wind and snow, and look stunning for decades.
Ready to frame your own gable roof with total confidence? Grab your tools, double-check your plans, and start with that first perfect rafter connection today.
Related Topics: How Long for Henry RV Roof Coating to Dry?
FAQs
What exactly is the ridgeboard in a gable roof?
The ridgeboard is the horizontal timber that runs along the peak of the roof. Rafters from both sides nail into its edges to stay aligned and straight.
Can rafters be nailed to the top of the ridgeboard instead of the sides?
Only when using a structural ridge beam designed to carry load. Traditional ridgeboards are too thin on top for secure nailing.
How many nails should I use when attaching a rafter to the ridgeboard?
Most codes require at least three 16d common nails or approved metal connectors per side. Always verify local requirements.
Is a ridgeboard necessary if I have ceiling joists or trusses?
In conventional rafter construction with ceiling joists, yes—you need something for the rafters to nail into at the peak.
What happens if I nail the wrong end of the rafter to the ridge?
The bird’s mouth won’t sit correctly on the wall plate, creating an unstable and visually crooked roof that fails inspection.
References
- International Residential Code (2024) – Section R802: https://codes.iccsafe.org/content/IRC2024P2/chapter-8-roof-ceiling-construction
- American Wood Council – Roof Framing Connections: https://www.awc.org/wp-content/uploads/2021/06/AWC-2021-SDPWS-Commentary.pdf
- U.S. Census Bureau – Characteristics of New Housing 2024: https://www.census.gov/construction/chars/pdf/c25ann2024.pdf
- OSHA Fall Protection in Residential Construction: https://www.osha.gov/fall-protection