Learn How To Reface Kitchen Cabinet Doors
A kitchen is often considered the heart of a home, and updating its look can breathe new life into the entire space. If you’re looking to give your kitchen a makeover without breaking the bank, refacing your kitchen cabinet doors is a cost-effective and rewarding option. Refacing involves updating the exterior of your cabinets while keeping the existing structure intact. In this article, we’ll guide you through the process of refacing kitchen cabinet doors, providing you with a step-by-step approach to achieve a fresh and stylish look.
Transform Your Kitchen: A Step-by-Step Guide on How to Reface Kitchen Cabinet Doors
Materials and Tools
Before you begin, gather the necessary materials and tools. You’ll need veneer or laminate sheets, screwdriver, sandpaper, utility knife, contact cement, and a roller.
Step 1: Evaluate Your Cabinets
Assess the condition of your existing cabinet doors. If the structure is solid and in good condition, refacing is a suitable option. However, if there are any structural issues, it’s advisable to address those first.
Step 2: Remove Cabinet Doors and Hardware
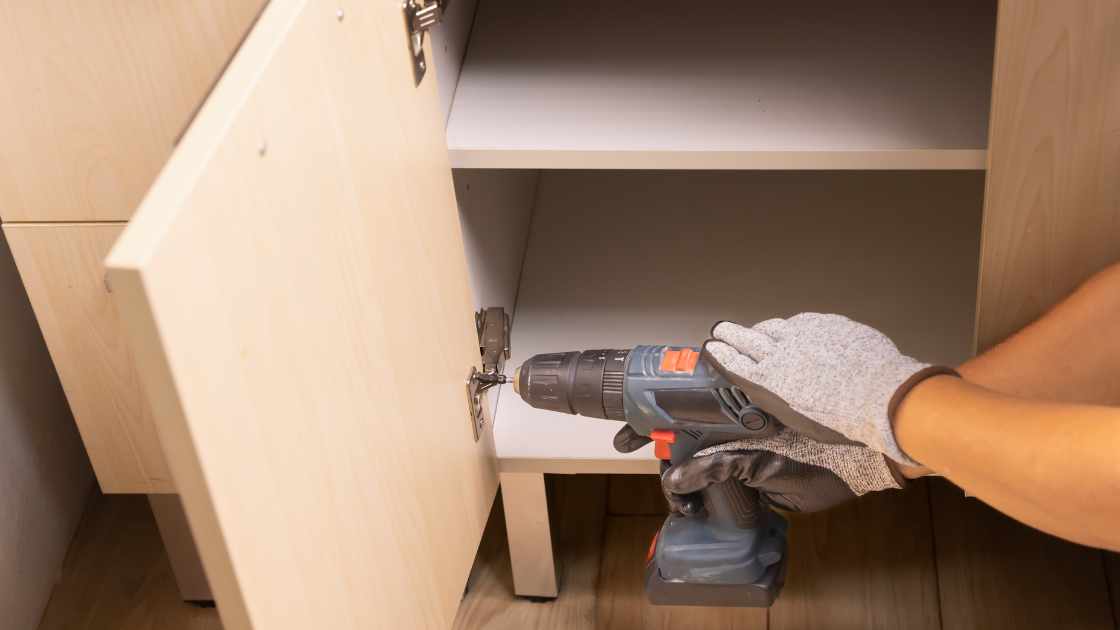
Start by removing the cabinet doors and their hardware using a screwdriver. Label each door and its corresponding hardware to make reinstallation easier.
Step 3: Clean and Sand
Thoroughly clean the cabinet doors with a mild detergent to remove grease and grime. Once dry, use sandpaper to roughen the surface slightly. This will help the adhesive bond better with the doors.
Step 4: Cut Veneer/Laminate Sheets
Measure the dimensions of your cabinet doors and cut the veneer or laminate sheets accordingly. Leave a slight overhang to trim later for a seamless finish.
Step 5: Apply Contact Cement
Apply contact cement to both the back of the veneer/laminate sheets and the cabinet doors. Follow the manufacturer’s instructions for drying times. Once the surfaces are tacky, carefully align and press the sheets onto the doors.
Step 6: Trim Excess Material
Using a utility knife, trim the excess veneer or laminate material from the edges of the cabinet doors. Take your time to achieve clean and precise cuts.
Step 7: Reattach Cabinet Doors
After allowing the adhesive to fully cure, reattach the cabinet doors using the labeled hardware. Ensure a snug fit and adjust hinges as needed.
Step 8: Finishing Touches
To complete the refacing process, consider adding new hardware or updating existing handles and knobs. Additionally, you can apply a protective topcoat for added durability.
Final Thought
Refacing kitchen cabinet doors is a DIY-friendly project that can significantly enhance the appearance of your kitchen. By following these step-by-step instructions and investing a bit of time and effort, you can achieve a stylish and budget-friendly transformation. Enjoy the satisfaction of a refreshed kitchen that reflects your personal style without the need for a complete renovation.
FAQs
What is the first step in refacing kitchen cabinet doors?
The initial step in refacing kitchen cabinet doors is to evaluate the condition of your existing cabinets. Ensure that the structure is sound and free of any major issues. Once confirmed, proceed to remove the cabinet doors and their hardware using a screwdriver.
What materials are required for refacing kitchen cabinet doors?
To reface kitchen cabinet doors, you’ll need veneer or laminate sheets, a screwdriver, sandpaper, a utility knife, contact cement, and a roller. Veneer or laminate sheets are used to cover the existing cabinet doors, while the other tools are essential for the preparation, cutting, and application processes.
Can I reface kitchen cabinet doors without professional help?
Refacing kitchen cabinet doors is a DIY-friendly project that can be accomplished without professional assistance. With the right materials, tools, and careful attention to detail, you can transform the look of your kitchen cabinets. Follow a step-by-step guide, such as the one provided earlier, to ensure a successful and cost-effective refacing project.


