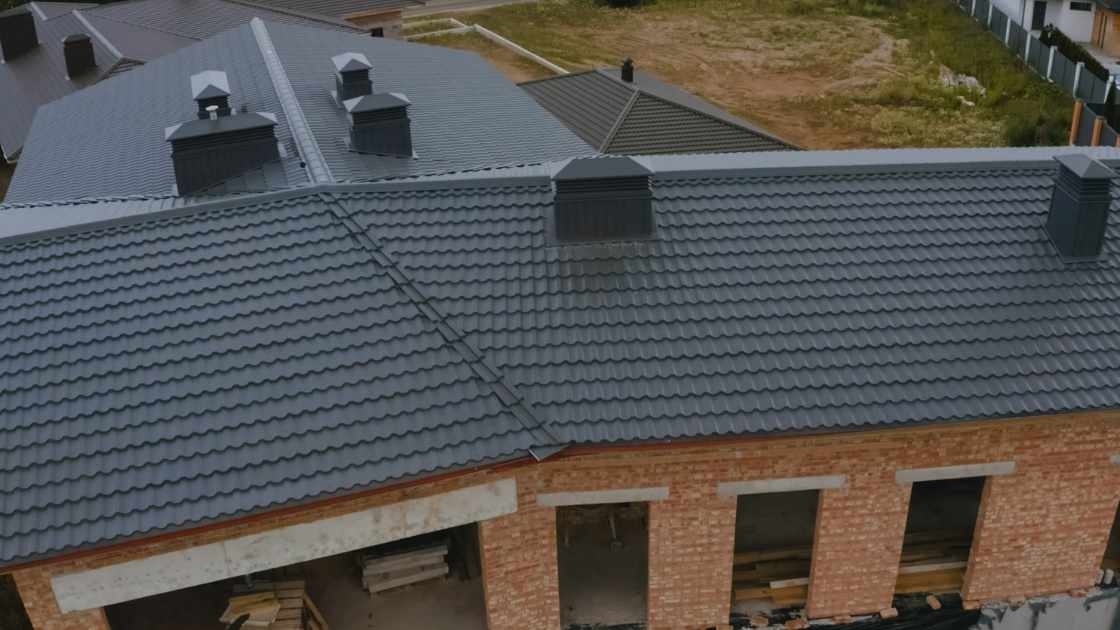
How to Build a Metal Roof Covered Patio
Building a metal roof-covered patio is an excellent way to create a functional outdoor space that is both durable and visually appealing. Metal roofs are long-lasting, weather-resistant, and require minimal maintenance, making them a popular choice for patio covers. Below is a step-by-step guide to help you build a metal roof-covered patio.
Step 1: Plan and Design
Determine the Purpose and Size:
Assess the intended use of the patio (e.g., dining area, relaxation spot, or outdoor kitchen).
Measure the dimensions of the space to calculate the materials needed.
Choose a Roof Style:
Flat roof: Simple and modern.
Sloped roof: Ideal for drainage and preventing water pooling.
Check Permits and Regulations:
Consult local building codes and zoning laws to ensure compliance.
Obtain necessary permits before starting the project.
Step 2: Gather Materials and Tools
Materials:
Metal roofing panels
Pressure-treated lumber or steel posts for framing
Concrete mix for securing posts
Screws, bolts, and washers
Flashing and sealant
Roofing underlayment (optional for added insulation)
Tools:
Measuring tape
Level
Drill and screws
Circular saw (with metal-cutting blade)
Hammer
Safety gear (gloves, goggles, and hard hat)
Step 3: Build the Frame
Set the Posts:
Mark the post locations and dig holes about 2-3 feet deep.
Place the posts and fill the holes with concrete to secure them. Allow the concrete to cure for 24-48 hours.
Install Beams and Rafters:
Attach horizontal beams to the top of the posts using bolts.
Install rafters across the beams, spaced evenly to provide structural support.
Add Cross Bracing:
Reinforce the frame with diagonal bracing to increase stability, especially in windy areas.
Step 4: Install the Metal Roof Panels
Attach Roofing Underlayment (Optional):
Roll out underlayment over the rafters for added protection against moisture.
Install Metal Panels:
Start at one corner and lay the first panel, ensuring proper alignment.
Overlap each panel slightly to prevent leaks.
Secure the panels with screws, placing them along the ridges rather than the valleys to avoid water penetration.
Add Flashing and Trim:
Install flashing at joints and edges to seal gaps.
Add trim pieces to cover exposed edges for a polished look.
Step 5: Finish and Customize
Paint or Coat the Frame:
Apply a weather-resistant finish to the wood or steel frame for longevity.
Add Gutters and Downspouts (Optional):
Install gutters to direct rainwater away from the patio area.
Incorporate Lighting and Décor:
Hang string lights, add ceiling fans, or include outdoor furniture to complete the space.
Maintenance Tips
Regular Cleaning: Remove debris like leaves and branches from the roof.
Inspect Annually: Check for loose screws, rust spots, and sealant cracks.
Repaint When Needed: Refresh the paint or sealant every few years to prevent wear and tear.
Final Thought
Building a metal roof-covered patio can significantly enhance your outdoor living space, providing shade and protection while increasing the value of your home. With careful planning and execution, this DIY project can result in a stylish and functional area for relaxation and entertainment. Whether you’re hosting gatherings or enjoying quiet evenings, a well-designed patio can become your favorite outdoor retreat.


