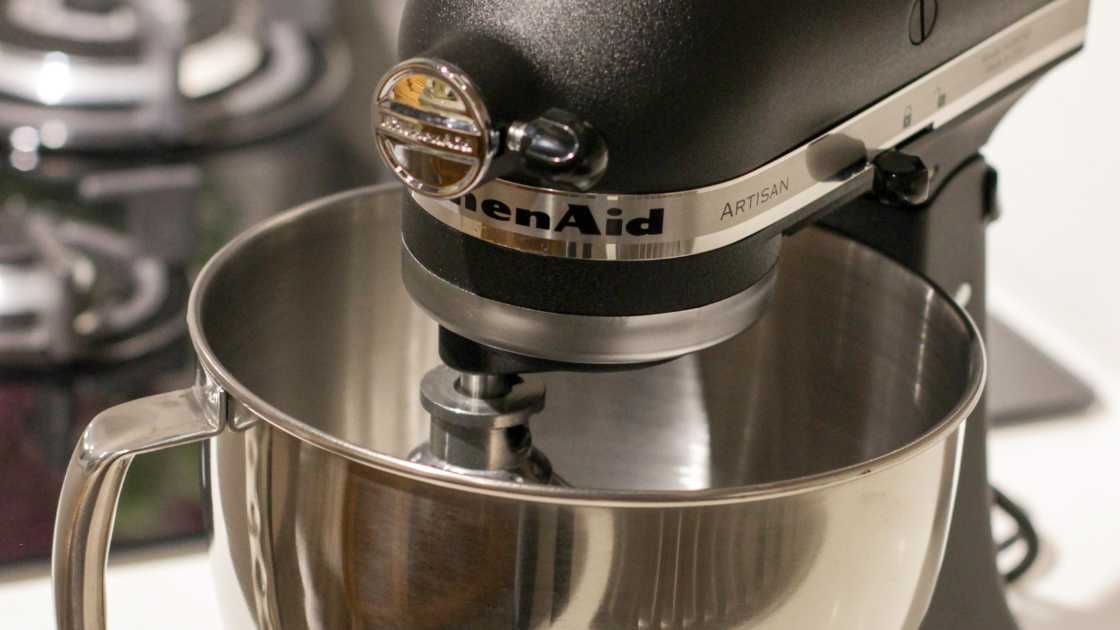
Master the Art of Cleaning Your KitchenAid Mixer: A Step-by-Step Guide
A KitchenAid mixer is a beloved kitchen companion for many home cooks and baking enthusiasts. Whether you use it occasionally or rely on it daily, keeping your KitchenAid mixer clean is essential for maintaining its performance and extending its lifespan. In this comprehensive guide, we will walk you through the step-by-step process of effectively cleaning your KitchenAid mixer, ensuring it remains in pristine condition for all your culinary adventures.
There are 6 Process of Effectively Cleaning your KitchenAid mixer
Gather Your Supplies
Before diving into the cleaning process, it’s important to gather all the necessary supplies. You’ll need the following:
Warm soapy water:
Prepare a mixture of mild dish soap and warm water in a sink or large bowl.
Soft cleaning cloth or sponge:
Use a non-abrasive cloth or sponge to avoid scratching the surface of your mixer.
Toothbrush or small brush:
This will help you reach into the crevices and remove any stubborn debris.
Damp cloth:
Keep a damp cloth nearby for wiping down the exterior of the mixer.
Towel or drying rack:
Prepare a clean towel or drying rack to let the parts dry after cleaning.
Disconnect and Remove Attachments
Start by disconnecting the power cord from the electrical outlet to ensure safety. Next, remove any attachments or accessories from your KitchenAid mixer, such as the bowl, whisk, paddle attachment, or dough hook. These removable parts should be cleaned separately to ensure a thorough cleaning process.
Clean the Removable Parts
Submerge the removable parts in the warm soapy water. Allow them to soak for a few minutes to loosen any stubborn residue. Then, use the soft cleaning cloth or sponge to gently scrub away any food particles or stains. For hard-to-reach areas, employ the toothbrush or small brush to remove any lingering debris. Rinse the parts thoroughly with clean water and set them aside to air dry or wipe them dry with a clean towel.
Wipe Down the Mixer Body
Take the damp cloth and gently wipe down the exterior of your KitchenAid mixer. Pay close attention to any stains or spills on the surface, ensuring you remove all traces of food or liquids. Be cautious not to let water or moisture enter the electrical components of the mixer. For stubborn stains, use a non-abrasive cleaner suitable for the mixer’s material and follow the manufacturer’s instructions.
Cleaning the Motor Head
The motor head of your KitchenAid mixer requires special attention. Use a damp cloth or sponge to wipe the motor head, avoiding excessive moisture near the power hub. It is crucial to never submerge the motor head or run it under water, as this can damage the internal components.
Reassemble and Store
Once all the parts are completely dry, reattach them to your KitchenAid mixer. Ensure each attachment is securely fitted and aligned correctly. Store any additional attachments in a safe place, such as a drawer or cabinet, to keep them organized and readily accessible.
FAQs
Can I put the attachments and bowls of my KitchenAid mixer in the dishwasher?
Yes, most attachments and bowls of KitchenAid mixers are dishwasher-safe. However, it’s always best to refer to the specific instructions provided by the manufacturer for your model. Before placing them in the dishwasher, remove any excess food or batter from the attachments and bowls. Ensure that they are securely positioned in the dishwasher and avoid overcrowding to ensure proper cleaning. For attachments with intricate designs or hard-to-reach areas, it may be more effective to hand wash them.
How do I remove stubborn stains or dried-on food from my KitchenAid mixer?
Stubborn stains or dried-on food can be challenging to remove from your KitchenAid mixer. One effective method is to create a paste using baking soda and water. Apply the paste to the stained areas and let it sit for a few minutes. Then, gently scrub the stained areas with a soft cloth or sponge. Rinse thoroughly with clean water and dry. For tougher stains, you can use a non-abrasive cleaner specifically designed for the material of your mixer, following the manufacturer’s instructions.
How often should I clean my KitchenAid mixer?
It is recommended to clean your KitchenAid mixer after each use to prevent the build-up of food residue and maintain optimal hygiene. However, if you use your mixer infrequently, you can clean it thoroughly before storing it for an extended period. Additionally, give it a more thorough cleaning at least once a month by removing all the attachments and cleaning them separately. Regular cleaning will help keep your mixer in excellent condition and prevent any potential contamination in your recipes.
Conclusion
Cleaning your KitchenAid mixer is an essential part of maintaining its performance and prolonging its lifespan. By following these simple steps, you can keep your beloved mixer in pristine condition and enjoy many more delicious culinary creations. Regular cleaning will not only ensure optimum performance but also prevent cross-contamination between different recipes. So, make it a habit to give your KitchenAid mixer the care it deserves, and it will continue to be your trusted kitchen companion for years to come.


