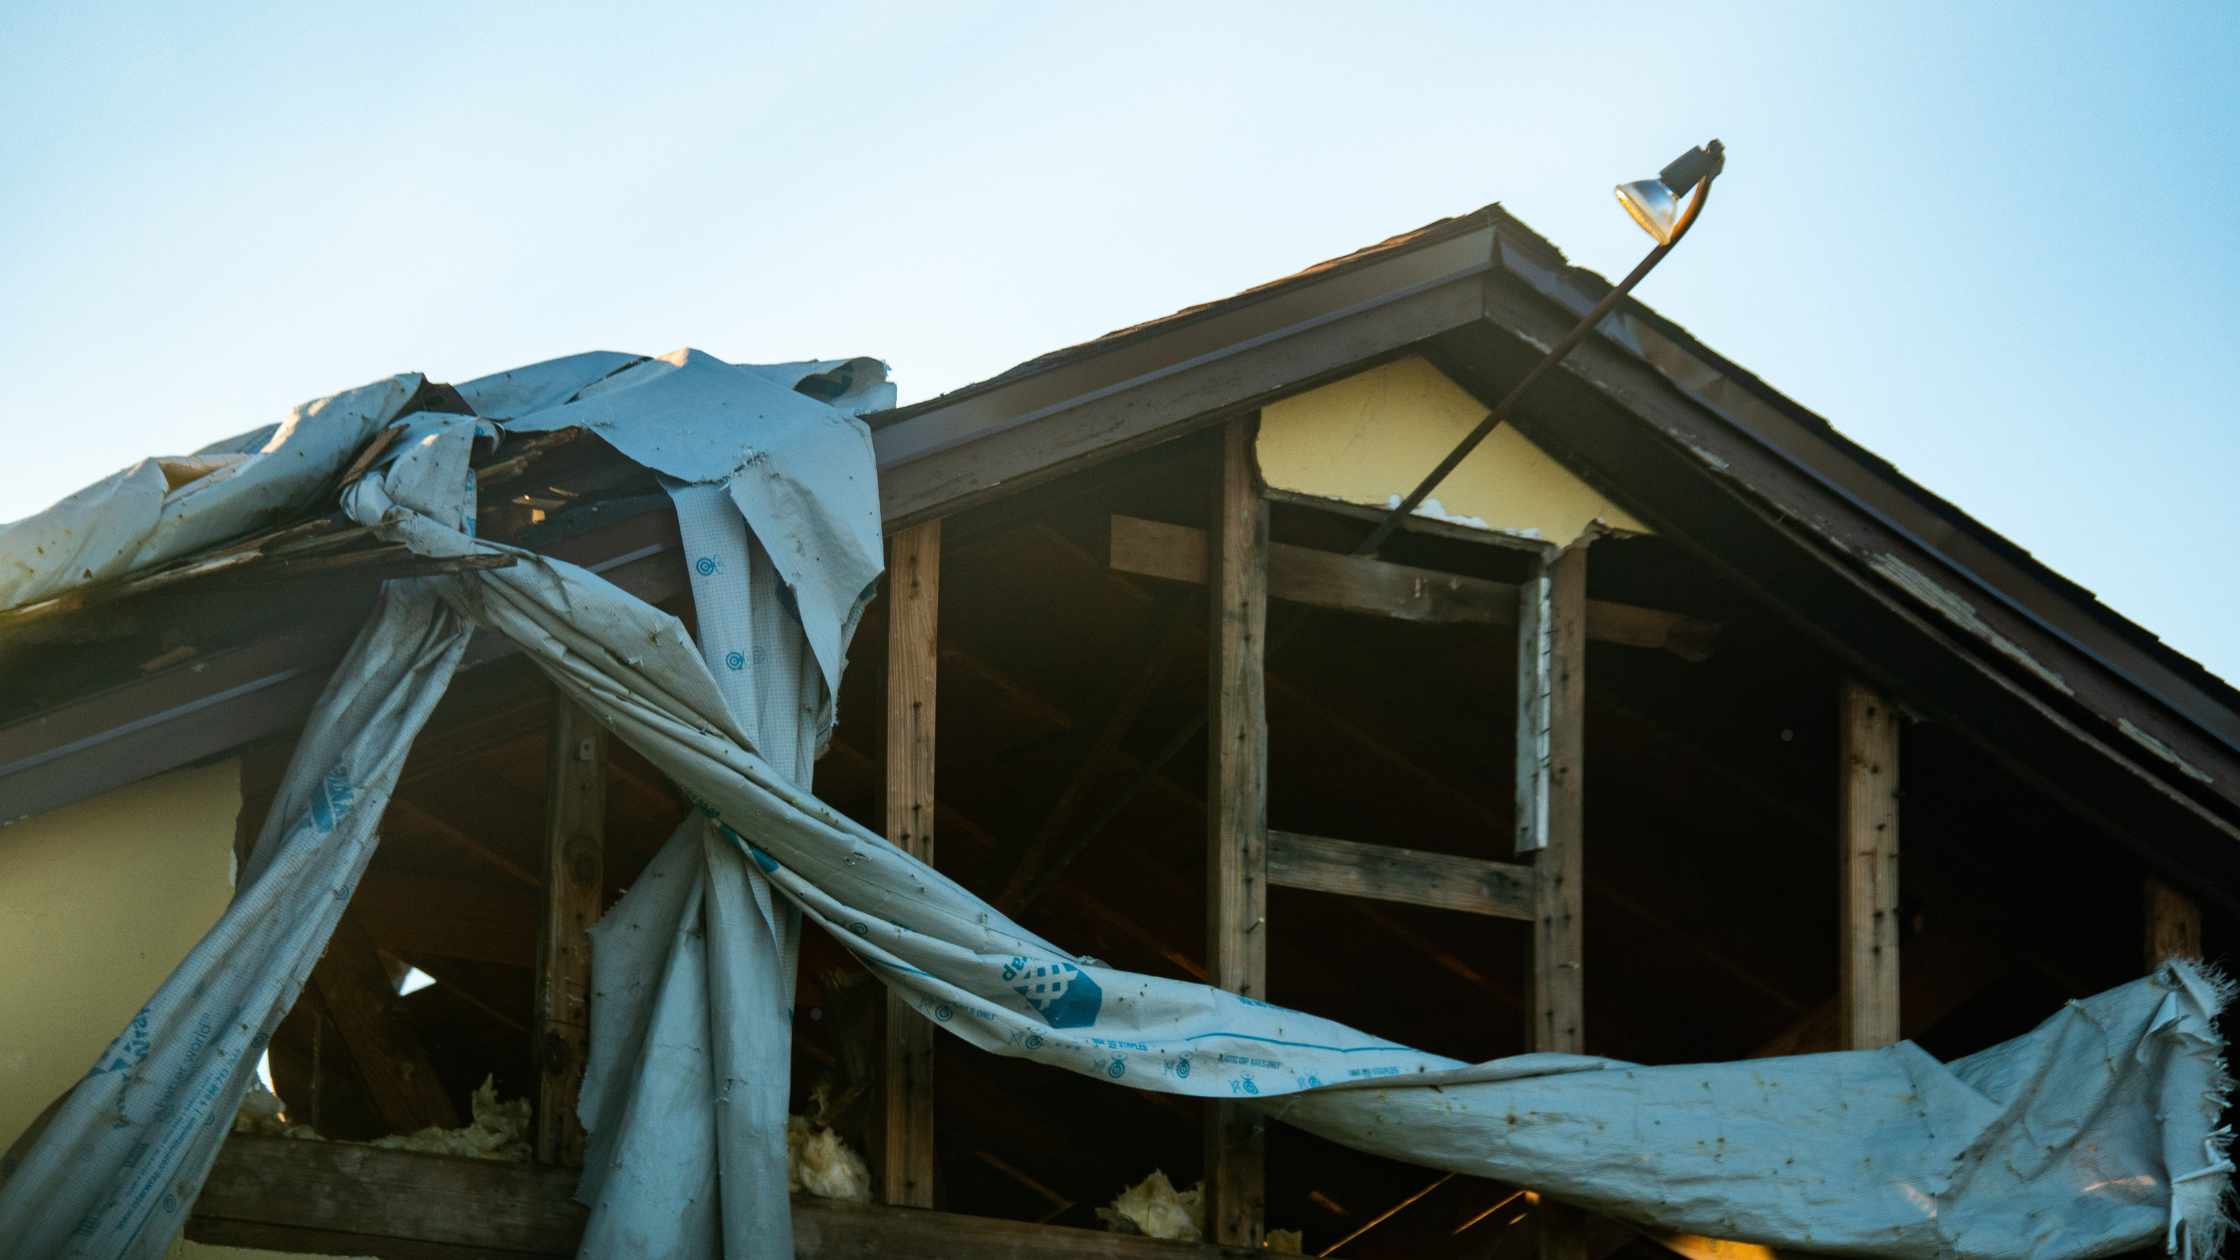
How to Cover a Tarp on the Roof of a House: A Step-by-Step Guide
Covering a roof with a tarp is an effective way to protect your home from weather damage, leaks, or other issues after storms or when awaiting repairs. Whether you’re dealing with a few loose shingles or major structural damage, knowing how to securely install a tarp can save you from further costly damages. Here’s an informative guide to help you complete the task safely and effectively.
Why Use a Tarp on Your Roof?
Protection from Elements: A tarp serves as a barrier against rain, wind, and debris, preventing further interior damage.
Temporary Fix: It buys you time until professional repairs can be completed.
Cost Savings: Quick coverage minimizes long-term repair costs by preventing water infiltration.
Materials You’ll Need
Heavy-duty roof tarp (waterproof and UV-resistant)
Ladder
Roofing nails or screws
Roofing adhesive or sealant
Sandbags (optional for added weight)
Utility knife
Hammer or drill with screwdriver bit
Wooden planks (2x4s)
Step-by-Step Instructions
Step 1: Assess the Damage
Inspect the roof from the ground to identify the areas that need coverage.
For severe damage, avoid climbing the roof yourself and consult a professional.
Step 2: Choose the Right Tarp
Use a heavy-duty tarp that extends 3-4 feet beyond the damaged area. This ensures full coverage and minimizes the risk of water seeping underneath.
The tarp should have reinforced edges or grommets for secure attachment.
Step 3: Prioritize Safety
Wear sturdy, non-slip footwear and a safety harness if working on steep roofs.
Use a stable ladder and have a spotter assist you.
Avoid working in bad weather conditions or during high winds.
Step 4: Clean and Prepare the Roof
Clear any debris, such as broken shingles, branches, or leaves, from the damaged area.
Ensure the surface is dry to help the tarp adhere securely.
Step 5: Position the Tarp
Unfold the tarp and place it over the damaged section of the roof.
Make sure it lays flat and extends at least 3 feet past the edge of the damage on all sides.
Step 6: Secure the Top Edge
Wrap the top edge of the tarp around a wooden plank to create a secure anchor.
Nail or screw the plank into the roof, ensuring it doesn’t puncture critical areas like pipes or vents.
Step 7: Attach the Sides
Pull the tarp taut along the sides and secure it using roofing nails, screws, or adhesive.
If grommets are available, fasten the tarp through these holes to prevent tearing.
Step 8: Secure the Bottom Edge
Repeat the plank method for the bottom edge. This keeps the tarp in place, especially during high winds.
Use sandbags for additional weight if needed.
Step 9: Inspect the Installation
Check for any loose areas where wind or water might lift the tarp.
Ensure the tarp is stretched tightly and securely fastened.
Step 10: Monitor the Tarp
Regularly inspect the tarp to ensure it remains intact and secure, particularly after heavy rain or strong winds.
Tips for Success
Work With a Partner: Having someone assist you increases safety and efficiency.
Use UV-Resistant Tarps: Prolonged sun exposure can degrade regular tarps.
Contact Professionals: For large areas or significant damage, hire a roofing professional to prevent accidents.
When to Replace the Tarp
Tarps are temporary solutions and should not replace proper roof repairs. Replace the tarp if it shows signs of wear, such as holes or tears, or schedule permanent repairs as soon as possible.
FAQs
How long can I leave a tarp on my roof?
A tarp is a temporary solution and can typically last 30–90 days if installed correctly. However, prolonged exposure to sun, wind, and rain may degrade the tarp faster. Schedule permanent repairs as soon as possible.
Can I tarp my roof in bad weather?
It’s best to avoid tarping during rain, strong winds, or storms for safety reasons. Wait for calm weather and ensure the roof is dry before installation to improve safety and adhesion.
Do I need special tools to secure a tarp?
You’ll need basic tools like a hammer, nails, or screws, and wooden planks for anchoring. For easier installation, use a drill with screwdriver bits and roofing adhesive.
Conclusion
Covering a tarp on your roof is a straightforward but essential task when dealing with unexpected roof damage. By following these steps, you can protect your home from further harm and buy time until professional repairs are made. Prioritize safety, use quality materials, and act swiftly to minimize risks and costs.


